 Data Science with Optimus Part 2: Setting your DataOps Environment
 Data Science with Optimus Part 2: Setting your DataOps Environment
Breaking down data science with Python, Spark and Optimus. Today: Data Operations for Data Science. Here we’ll learn to set-up Git, Travis CI and DVC for our project.
Welcome back to the series of Data Science with Optimus. In the first part:
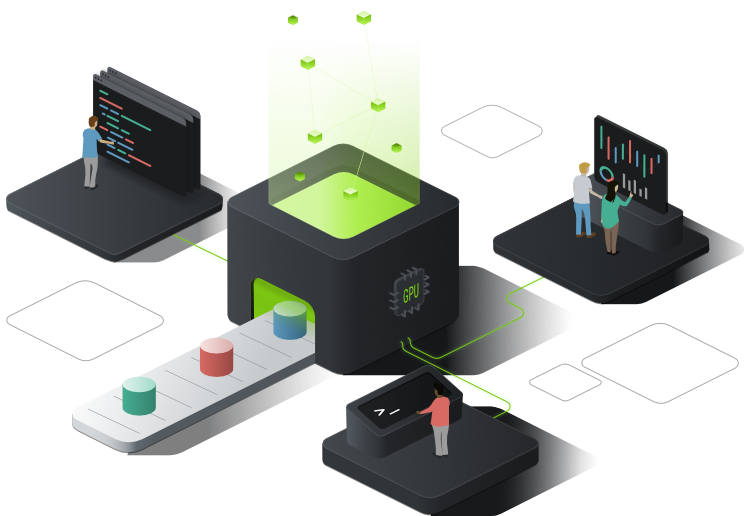
We started this journey talking about Optimus, Spark and creating out environment. For that we are using MatrixDS:
A Community for Data Scientists by Data Scientists
The data community’s workbench matrixds.com
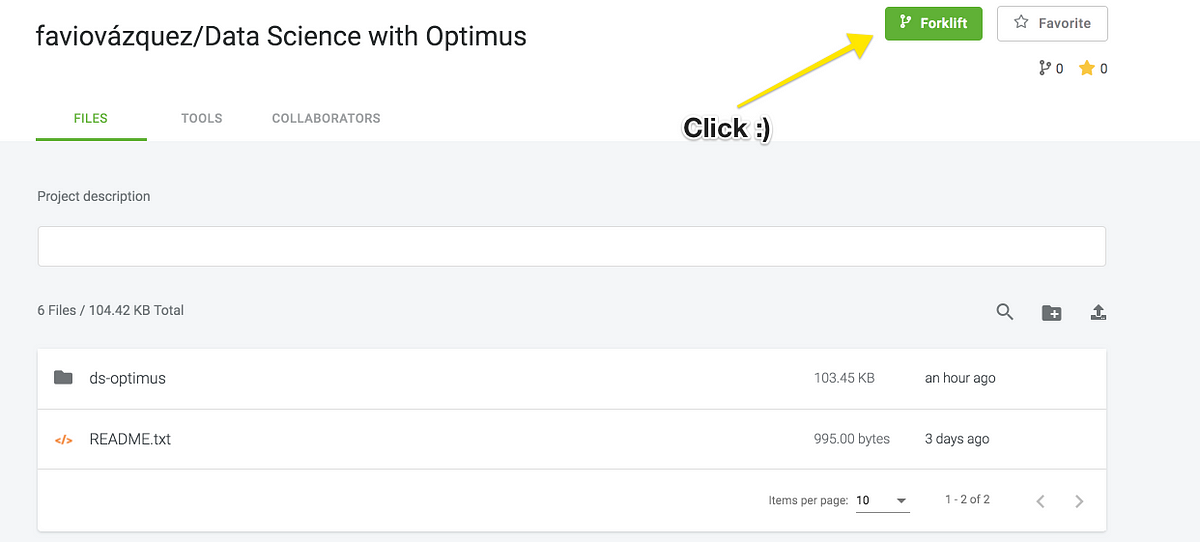
To have access to the repo just click below:
And on MatrixDS click on Forklift:
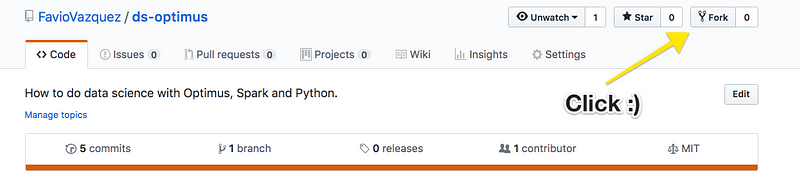
There’s also a repo on GitHub:
You just have to clone it.
DataOps

From the great people at DataKitchen:
DataOps can accelerate the ability of data-analytics teams to create and publish new analytics to users. It requires an Agile mindset and must also be supported by an automated platform which incorporates existing tools into a DataOps development pipeline. DataOps spans the entire analytic process, from data acquisition to insight delivery.
So DataOps (from Data Operations) for me can be thought as the intersection of these fields:
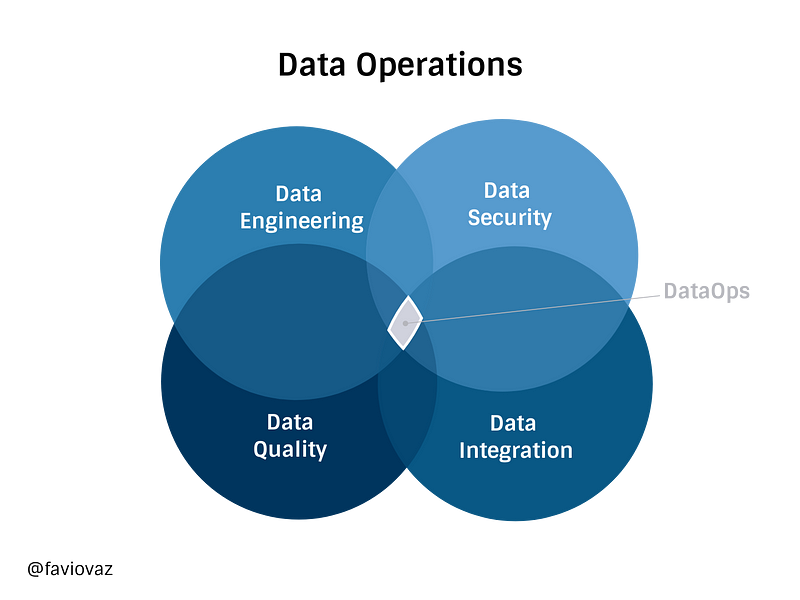
And its functional components will be:

You can read more about some of these topics in my friend Andreas Kretz’s publication:
Plumbers Of Data Science
The Engineering and Big Data community behind Data Science medium.com
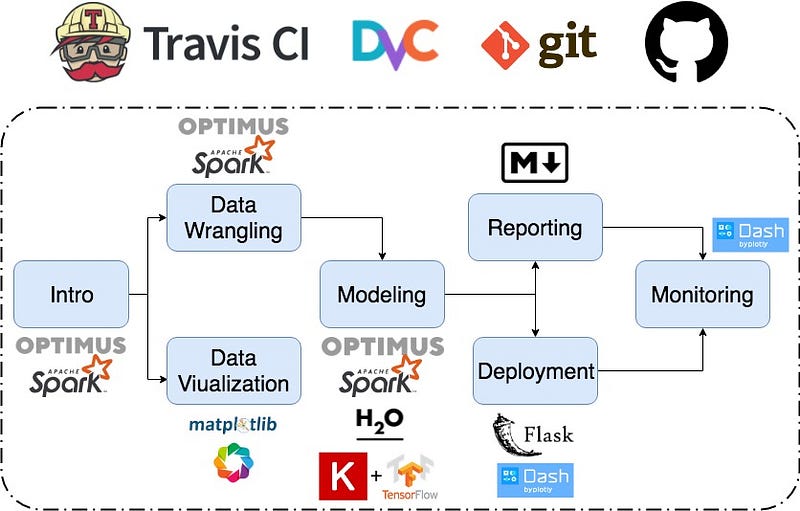
Setting-up the environment on MatrixDS
We will create a simple (but robust) DataOps environment in the platform using the tools: TravisCI, DVC, Git and GitHub.
Git:
Git is a free and open source distributed version control system designed to handle everything from small to very large projects with speed and efficiency.
In data science git is like our internal manager with a great memory. It will remember everything you have did, how you did it and the history of every file in the repository.
Git is installed by default in MatrixDS but we will need to set up two configurations. First let’s open a new terminal and type:
git config --global user.name "FIRST_NAME LAST_NAME"
to set your name and then
git config --global user.email "MY_NAME@example.com"
to set your email.
I recommend that the email you put there is the same one you have on GitHub.
To start working with this repository just clone it:
And then go to the directory:
cd ds-optimus
Because this is already a Git repo you don’t need to initialize it, but if you are starting from scratch, you’ll need to type:
git init
On the folder you want your repository.
DVC:
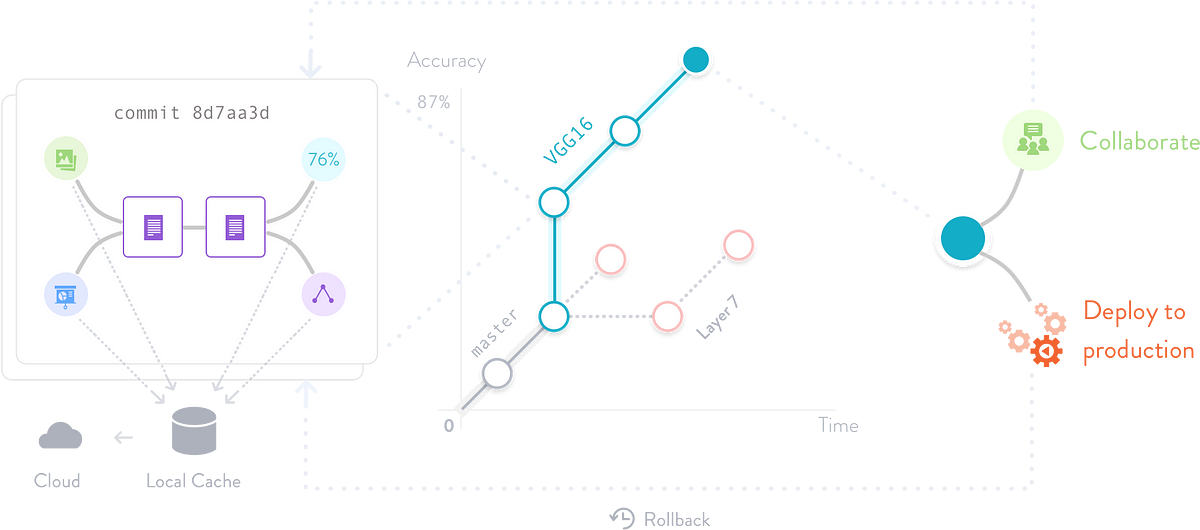
DVC or Data Version Control is an open-source version control system for Machine Learning Projects, and data science projects too. This video explains it better:
Because we are using Python, we will install DVC by:
pip install --user dvc
As the documentation says in order to start using DVC, you need first to initialize it in your project’s directory. DVC doesn’t require Git and can work without any source control management system, but for the best experience we recommend using DVC on top of Git repositories.
IMPORTANT COMMENT:
There are errors right now with some configurations in MatrixDS for DVC, so in order to run DVC you’ll have to do it in a different folder, not in /home/matrix. For that do this (I’m assuming you have the original project in the default folder):
cd /home/
sudo mkdir project
cd project
cp -r ../matrix/ds-optimus/ .
cd ds-optimus
So to start using DVC with our repo we just type:
dvc init
If for some reason, that doesn’t work for you on MatrixDS, install DVC for linux:
wget https://dvc.org/deb/dvc.list
sudo cp dvc.list /etc/apt/sources.list.d/
sudo apt-get update
sudo apt-get install dvc
If for some reason you get the error:
W: chown to root:adm of file /var/log/apt/term.log failed - OpenLog (1: Operation not permitted)
Do a
sudo su
and then type:
apt-get install dvc
Ok, so if you ran dvc init on this repo you’ll see:
Adding '.dvc/state' to '.dvc/.gitignore'.
Adding '.dvc/lock' to '.dvc/.gitignore'.
Adding '.dvc/config.local' to '.dvc/.gitignore'.
Adding '.dvc/updater' to '.dvc/.gitignore'.
Adding '.dvc/updater.lock' to '.dvc/.gitignore'.
Adding '.dvc/state-journal' to '.dvc/.gitignore'.
Adding '.dvc/state-wal' to '.dvc/.gitignore'.
Adding '.dvc/cache' to '.dvc/.gitignore'.
You can now commit the changes to git.
+-----------------------------------------------------------------+
|                                                                 |    |                                                                 |
|        DVC has enabled anonymous aggregate usage analytics.     |    |                                                                 |
|     Read the analytics documentation (and how to opt-out) here: |     |                                                                 |
|              https://dvc.org/doc/user-guide/analytics           |           |                                                                 |
|                                                                 |             |                                                                 |
+-----------------------------------------------------------------+

What's next?
------------
- Check out the documentation: https://dvc.org/doc
- Get help and share ideas: https://dvc.org/chat
- Star us on GitHub: https://github.com/iterative/dvc
Then commit your work (if you change the folder you may need to configure Git again):
git add .
git commit -m "Add DVC to project"
Travis CI:
Travis CI (Continuous Integration) is my favorite CI tool. Continuous Integration is the practice of merging in small code changes frequently, rather than merging in a large change at the end of a development cycle. The goal is to build healthier software by developing and testing in smaller increments.
The hidden concept here is automatic testing of what you are doing. When we are programming we are doing a lot of stuff all the time, we are testing new things, trying new libraries and more, and it’s not uncommon to mess things up. CI helps you with that because you will begin doing your work, commit a little bit of it with Git, and you should have the necessary tests to see if the new piece of code or analysis you made impacts (in a good or bar way) your project.
There’s a lot more to know about Travis and CI tools, but the plan here is to use it, you’ll learn on the way. So the first thing you have to do is to go to:
Travis CI - Test and Deploy Your Code with Confidence
travis-ci.org
and create an account with your GitHub profile.
Then you will go (I’m assuming here that you have successfully forked the repo from GitHub at this point) and then on https://travis-ci.org/account/repositories you will choose ds-optimus:

and then activate the repo

If everything went well you’ll see something like this:
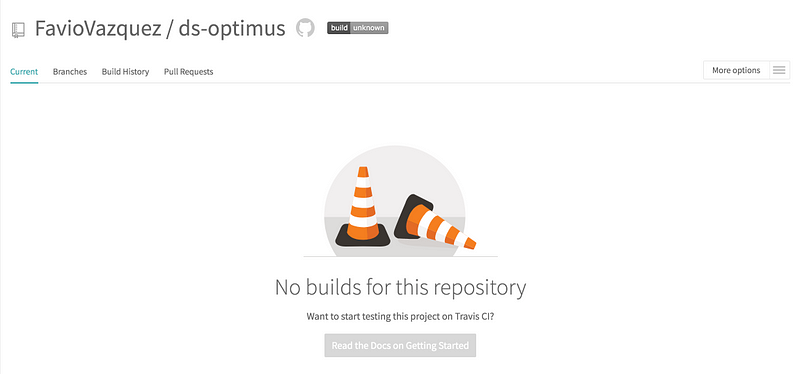
Ok so right now this is empty because we don’t have anything to test yet. That’s fine, will get to that in following articles. But right now we need to built the basic file that will trigger “travis builds”.
We need for that a .travis.yml file, and this is the basics content it should have:
language: python
python:
  - "3.6"
# Before upgrade pip and pytest
before_install:
- pip install --upgrade pip
- pip install pytest
# command to install dependencies
install:
  - pip install -r requirements.txt
# command to run tests
#script: pytest
As you can see we also need a requirements.txt file, in our case it will only be optimus for now.
If you have a fork of the project on GitHub make sure to add my master as an upstream because the files will be already there.
If you don’t know how to add an upstream here’s how:
Then we have to push the commit that adds “.travis.yml” to the project.
Then when you go to travis again you will see your first build:

For now it will give us an error because we haven’t create any test to run:
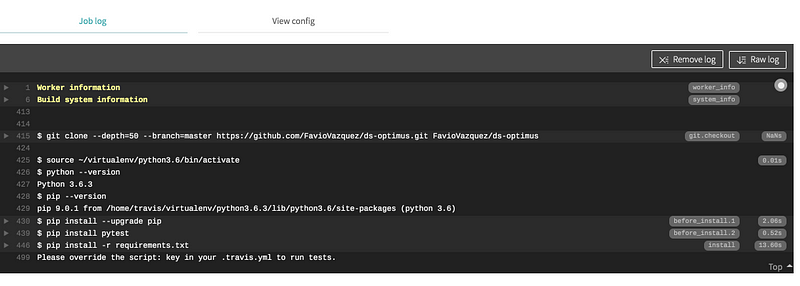
But don’t worry we will get to that later.
Thanks for seeing the update and start setting up your environment for this project. If you have any questions please write me here:
Bio: Favio Vazquez is a physicist and computer engineer working on Data Science and Computational Cosmology. He has a passion for science, philosophy, programming, and music. He is the creator of Ciencia y Datos, a Data Science publication in Spanish. He loves new challenges, working with a good team and having interesting problems to solve. He is part of Apache Spark collaboration, helping in MLlib, Core and the Documentation. He loves applying his knowledge and expertise in science, data analysis, visualization, and automatic learning to help the world become a better place.
Original. Reposted with permission.
Related:
- Practical Apache Spark in 10 Minutes
- Data Pipelines, Luigi, Airflow: Everything you need to know
- 4 Reasons Why Your Machine Learning Code is Probably Bad